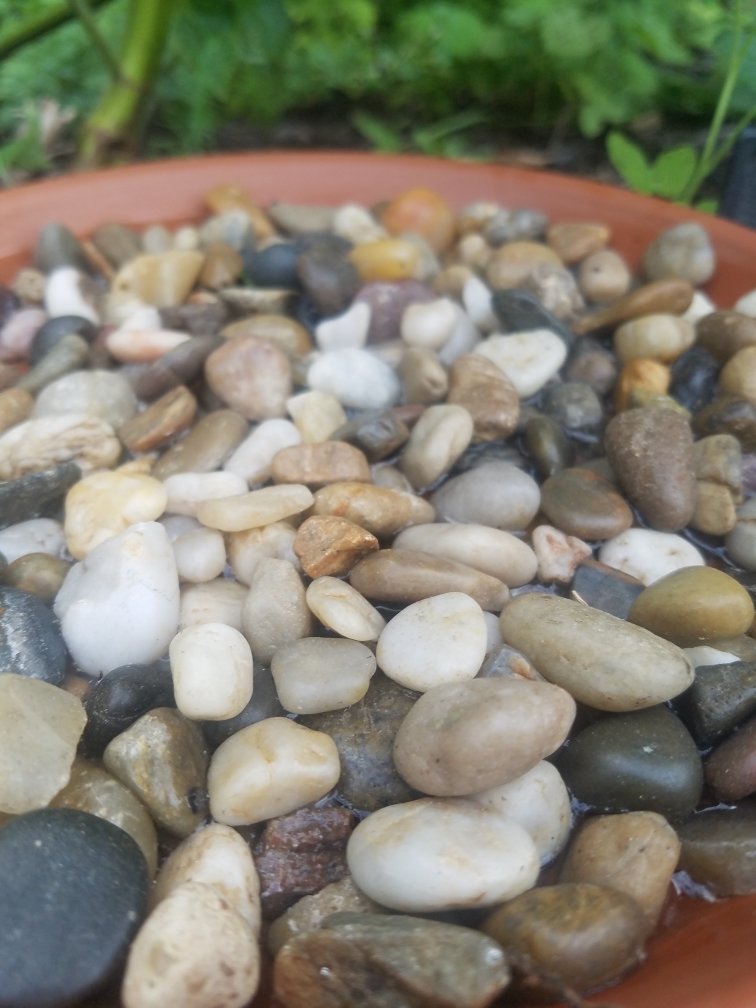
While we have recently had some rain here in Georgia, I know we are well on our way to it becoming scarce again. When water is scarce, local wildlife suffers, especially bees. Obviously, bees are tremendously important, pollinating our plants so they may bear fruits for our consumption. Plus, they are delightful to watch in my garden. Other than planting lots of flowering plants, you can help the bees in your witchy gardens by creating a Bee Bath, aka a bee drinking waterer. This is a really super simple project that can be done cheaply and the bees will thank you for it. Heck, the toads and lizards in your garden will likely thank you too! This is so easy, that you can make them with your little witchlings and make them as simple or as intricate as you like. Furthermore, creating a bee bath is a great way to honor both Earth and Water elements in your garden; Earth because you are nourishing the Earth's creatures and Water because you are making a sacred place for Water within your garden.
Supplies
Terra Cotta SaucerStones, marbles, or mosaic glass gems (easily picked up at Dollar Tree)
Citrine or Carnelian chips (or other crystals of your choosing)
Water
Terra Cotta Paint (optional)
Directions
Begin by decorating the outside of your saucer with terra cotta friendly paint, if you wish. Do not paint the inside as 1) you won't be able to see it once the stones and water are in place, and 2) you run the risk of the paint being toxic to wildlife. I didn't paint mine because I liked the way the saucer looked to begin with, but if you want to decorate it, I suggest using sigils and images for health, vitality, strength, and endurance so that the wildlife that drinks from your bee bath will be given a little boost. If you don't want to decorate the outside, place these symbols on the underside of the saucer.Once your saucer is decorated, fill the bottom with your stones, marbles, or mosaic glass gems. Spread them evenly on the bottom. Sprinkle your citrine or carnelian chips amongst the filler. Citrine and carnelian both symbolize strength and endurance, which bees and other wildlife visiting your bee bath need to make it through extreme temperatures and drought during the summer months.
After the bottom of the saucer is filled, fill the saucer with cool water until it's just at the edge of the filler. You don't want the filler to be completely submerged, as the bees need to be able to rest on the rocks while they drink, otherwise they will drown. Please note that terra cotta absorbs water, so after you initially add water, you will likely need to add more water 30 minutes later. You can see in the pictures below I already need to add more water to mine! If you wish, place your hand over the bee bath and bless the water. Imagine it filling with life-giving properties to support the wildlife in your garden.
Finally, place the bee bath outside in your garden in a shaded area on level ground or elevated. If you place it directly in the sun, the water will heat, causing bees not to visit, and it will evaporate rather quickly. Be sure to refill the bee bath daily. During especially hot weather, check the bee bath more than once a day. If the bee bath begins to grow algae, scrub the contents with soap and water and refill. Feel free to bless the water each time you add more.
And there you have it! I told you it was simple! If you happen to make one yourself, please share pictures in the comments below! I would love to see your work!


I'd love to make this but I am afraid the standing water will breed mosquitos. Do you dump out the water regularly? Or leave it in a shady area so algae does not grow?
ReplyDelete