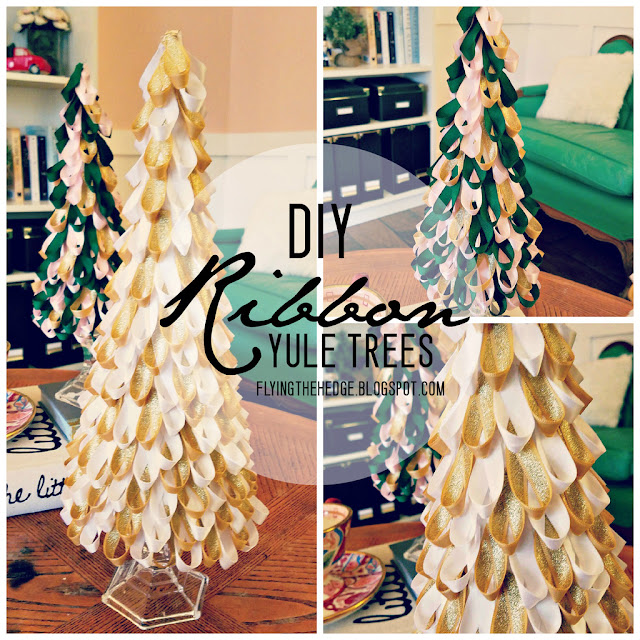
A couple of years ago I saw some beautiful felt trees in the holiday section at Target. I decided I could make my own for significantly less and set off to the store to buy some paper mache cones, green felt, and red pompoms. Guess what! They have been sitting in my storage closet since. I sat down 2 weeks ago and began cutting out the felt and realized it wasn't work it. I didn't even want dark green trees anymore! Plus, it was starting to hurt my hand. No one wants that. So I ventured off to Pinterest to gather some new ideas. That is when my ribbon Yule trees were born!
My library is green, pink, and white with splashes of brown. I wanted my ribbon trees to watch my living room so I set off to find pink, green, and white ribbons! My husband calls the library the Neapolitan room. Not gonna lie, it does make me want ice cream whenever I am in there...or tea. Same thing right?!
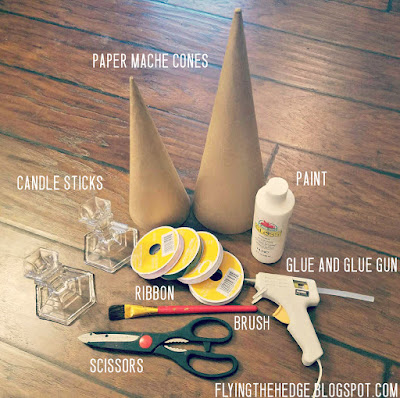
Materials
Colored Ribbons (any color you desire)
Paper Mache Cones (1-2 of various sizes)
Cardboard
Candle Sticks (from the Dollar Tree. 1 for each tree)
White paint (or another color to match your ribbon)
Hot Glue and Hot Glue Gun
Scissors
Optional: Glitter, small colored pompoms, small doll sized ornaments or tree toppers, fairy lights
Directions
Begin by using the cone to draw a circle the size of the base on the cardboard. Cut out the circle just slightly smaller than the base. You want this circle to fit up inside the cone slightly. Hot glue the cardboard circles into place.

Next, paint the paper mache cones. If you'd like, you can also spray paint your candle sticks. I liked the glass look so I kept them in their original finish. Allow to completely dry.

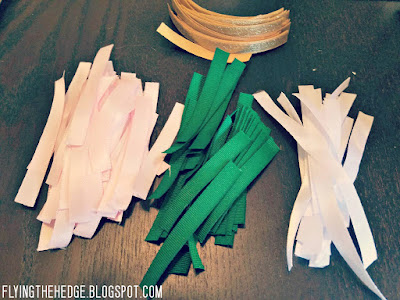
While the paint is drying, begin cutting strips of ribbon 2- 2.5 inches in length. I cut about 20 strips and worked with them until I ran out. If you want, feel free to cut an entire roll. It takes just over 1 rolls of each color to complete the larger cone if you are only doing it in two colors as I did.
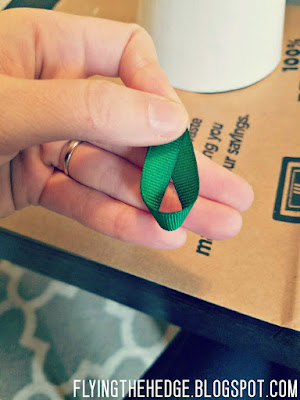
Twist the ribbon to form a loop, and begin hot gluing the loops to your cones starting at the base and working upwards. Make sure to stagger and overlap the loops to cover up the bulk of the cone. You want your trees to look full.


Finally hot glue the candlestick to the cardboard base and viola! beautiful ribbon Yule trees! If you would like, you can add glitter, colored pompoms, doll-sized ornaments or tree toppers, or even fairy lights to add some dimension to your trees. I used glittered gold ribbon which was enough for my tastes. Very magical indeed!

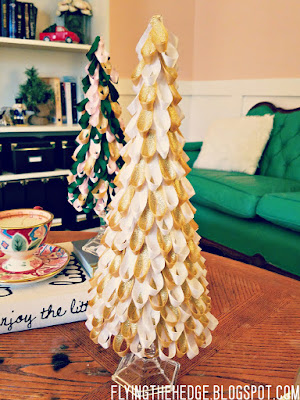


Have you done any Yule inspired crafts this year? Did you try this one? I'd love to see pictures of your work in the comments!
Have a Blessed Yule!


Very pretty that you use ribbon to be the leaf.
ReplyDeleteแทงบอล sbobet หวยออนไลน์ royal1688 ทางเข้า maxbet